Skip to content
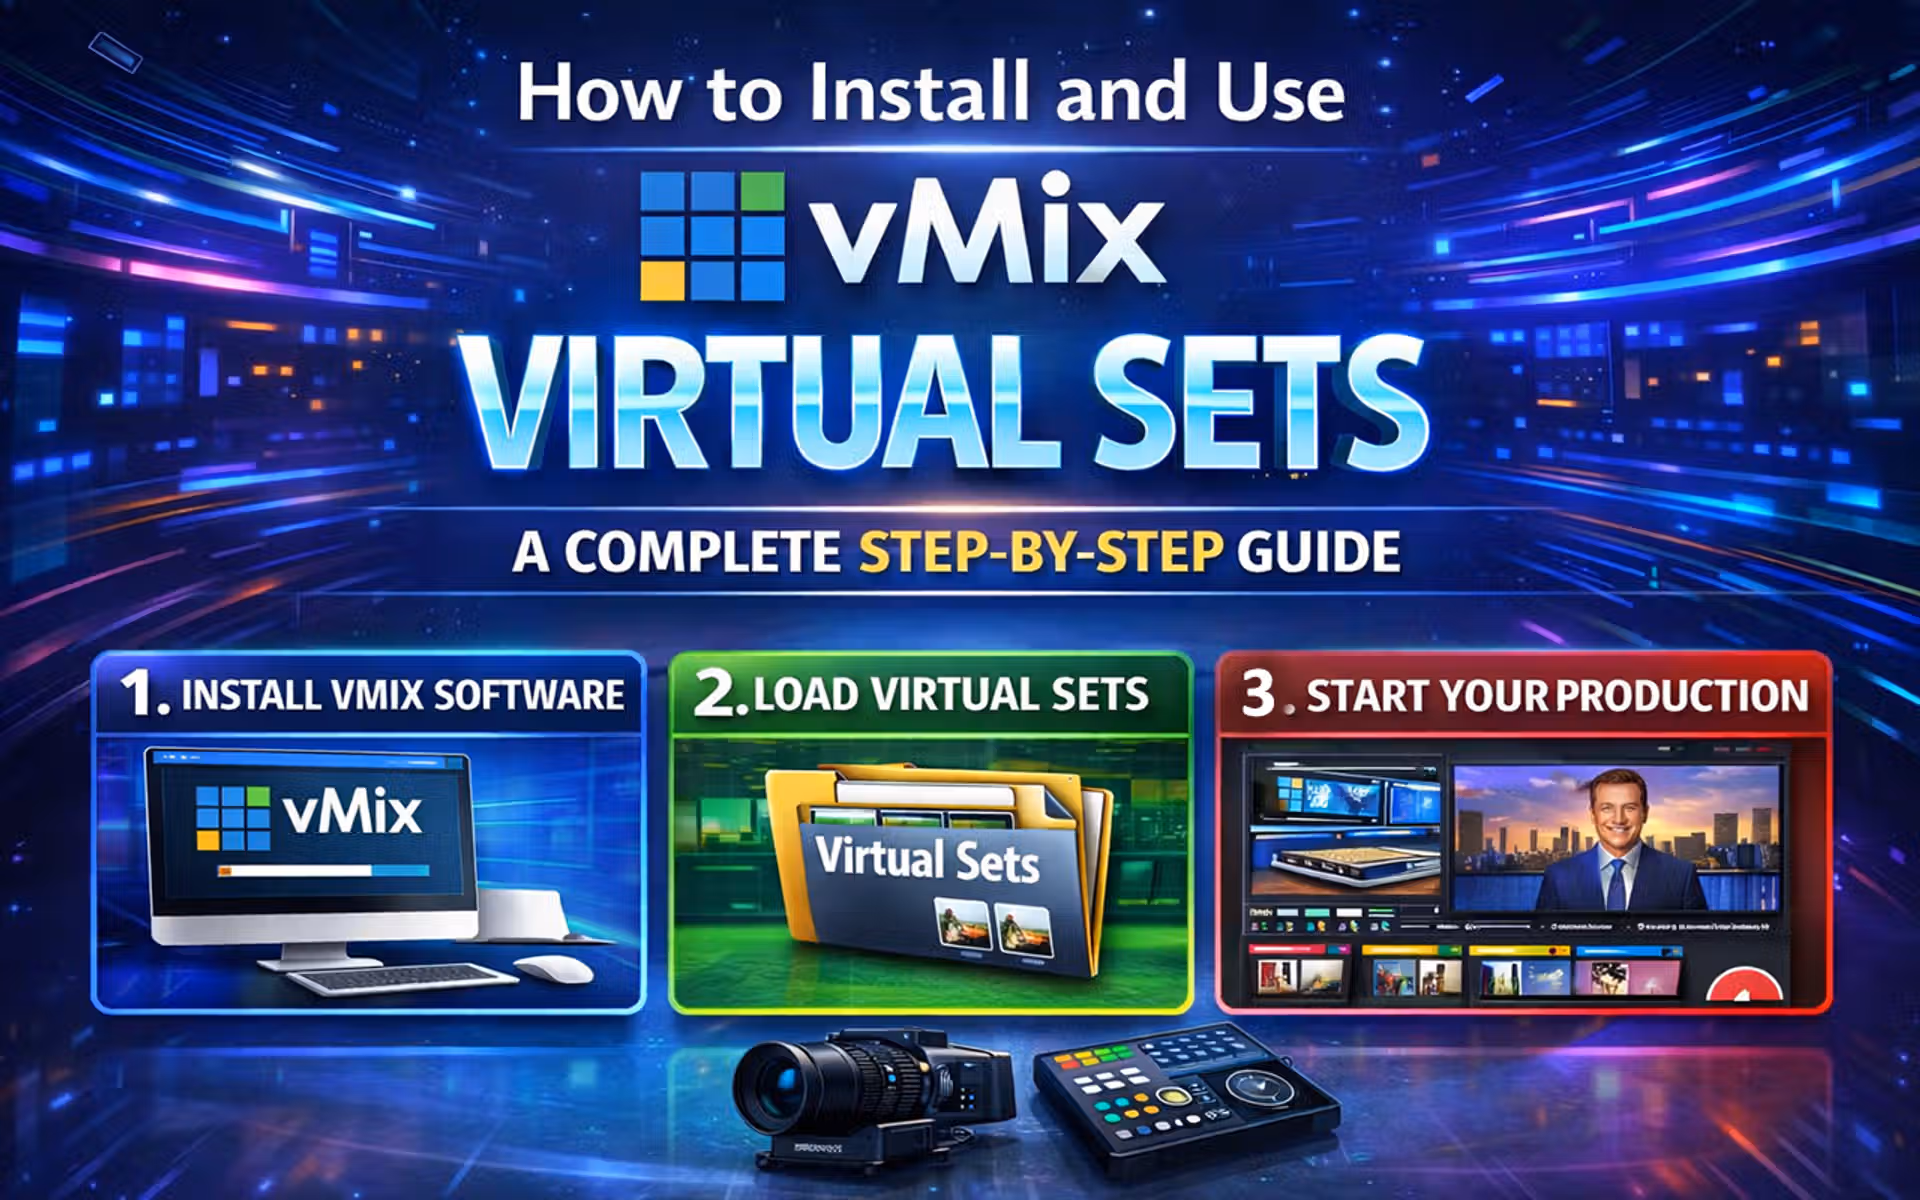
How to Install and Use vMix Virtual Sets: A Complete Step-by-Step Guide
Want to create professional studio-quality live streams without spending thousands on a physical set?
vMix virtual sets are the answer. With just a few clicks, you can transform your green screen footage into a dynamic, multi-camera studio environment that looks like a million bucks.
In this complete guide, I’ll walk you through exactly how to install, use, and customize vMix virtual sets. Plus, I’ll share pro tips for optimizing your content for Google using Rank Math SEO (because what good is great content if nobody finds it?).
Let’s dive in.
What Is a vMix Virtual Set?
A vMix virtual set is essentially a folder of images (PNG or JPG files) combined with a configuration file called config.xml. This XML file tells vMix exactly where to position each image layer, in what order, and how they should behave when you switch between camera angles.
Think of it as a digital TV studio. The background is your set design, and the empty spaces (where your talent or screens should appear) are like green screen placeholders that you can fill with live camera feeds, video files, or graphics.
The best part? vMix uses open file formats, meaning you can easily create or customize your own sets without needing expensive proprietary software.
Before You Begin: Prerequisites
Make sure you have everything you need before starting:
vMix installed (any edition from Basic HD to Pro)
A vMix virtual set file (downloaded as a
.zipfile)A green screen setup (for chroma keying your talent into the set)
Basic Windows file management knowledge
If you don’t have a virtual set yet, you can find free templates on the premium sets from marketplaces like coostudio.com.
Step-by-Step Installation Guide
Step 1: Locate Your vMix Virtual Sets Folder
vMix stores all its virtual sets in a folder called VirtualSets. By default, you’ll find it at:
C:\Program Files (x86)\vMix\VirtualSets
If you installed vMix to a custom location, simply navigate to that directory and look for the VirtualSets folder.
Pro Tip: If you can’t find the folder, search your system for “VirtualSets” or check C:\Program Files\vMix\VirtualSets if you’re using a 64-bit version.
Step 2: Prepare Your Virtual Set Files
Locate your downloaded virtual set (it will be a
.zipfile).Right-click the file and select Extract All to unzip it.
Open the extracted folder and look for a file named
config.xml.
CRITICAL: If you don’t see
config.xmldirectly inside the folder, you’ve extracted the wrong folder. Some downloads contain a parent folder that wraps the actual virtual set. Keep drilling down until you find the folder that containsconfig.xmland the image files.
Here’s what you should see inside a valid virtual set folder:
config.xml(required)Background.png(or .jpg)Screens.pngOther image layers (e.g., desk, monitor screens, etc.)
Step 3: Copy the Virtual Set to vMix
Copy the entire folder (the one containing
config.xml).Navigate back to the
VirtualSetsdirectory atC:\Program Files (x86)\vMix\VirtualSets.Paste the folder directly into the
VirtualSetsdirectory.
That’s it for installation! You’ve just added your virtual set to vMix.
Step 4: Load Your Virtual Set in vMix
Close and restart vMix (if it was already open). This refreshes the list of available virtual sets.
Click “Add Input” in the bottom-left corner of the main vMix window.
Select “Virtual Set” from the list of input types.
Find your new virtual set – it will appear as a thumbnail alongside the built-in sets. Select it and click OK.
Your virtual set is now added as an input in vMix!
Step 5: Assign Camera Feeds and Customize
Once your virtual set is loaded, it’s time to bring it to life:
Select the virtual set input in your vMix preview window.
In the right-hand settings panel, click on the “Virtual Set” tab.
You’ll see a list of layers (Layer 1, Layer 2, etc.). These represent the empty spaces in your set – typically where your talent or screens should appear.
Click on a layer (e.g., the talent area) and choose your green screen camera input from the dropdown menu.
Now your talent will appear inside the virtual set! The chroma key effect should be applied automatically, but you may need to fine-tune it for optimal results (see the Best Practices section below).
Customizing Your Virtual Set Like a Pro
once you’ve mastered the basics, you can take your virtual sets to the next level with these advanced techniques.
Adding Your Logo and Graphics
Want to brand your virtual set with your logo? Here’s how:
Add your logo as a separate image input (Add Input → Image).
Click the gear icon (Input Settings) on your virtual set input.
Go to the “Layers” tab – you’ll see up to 10 layer slots.
Select an empty layer (e.g., Layer 10) and choose your logo input from the dropdown.
Click “Edit” beside the layer to position and resize your logo anywhere on the screen.
The logo will automatically zoom and move with the virtual set when you switch camera angles. Pretty slick, right?
Troubleshooting Common Issues
My virtual set doesn’t appear in the vMix list!
Solution: Verify that the folder you copied contains config.xml directly inside it – not inside a subfolder. Also, make sure you restarted vMix after copying. vMix won’t detect new sets until you restart the software.
The layers are in the wrong place or missing!
Solution: Open the virtual set input’s settings and go to the Virtual Set tab. You can manually adjust the X, Y, Zoom, and Rotation values for each layer until everything looks right. Once you’re happy, click Export to save the corrected configuration.
My images aren’t displaying!
Solution: Ensure all image files referenced in your config.xml are in the same folder as the config.xml file itself. Also, check that the file names match exactly – capitalization matters!
vMix crashed or performance is slow!
Solution: High-resolution images (like 4K) can be demanding on your system. Try resizing your images to match your output resolution (e.g., 1080p) for better performance. Also, make sure your graphics card meets vMix’s DirectX 10 requirement.
vMix updates wiped out my custom sets!
Solution: Don’t worry – custom virtual sets typically survive vMix updates. However, it’s always a good idea to keep a backup of your VirtualSets folder just in case.
vMix Virtual Set Best Practices for Chroma Key
To get the cleanest key and most professional look, follow these tips:
Lighting Is Everything
Light your green screen evenly – no hot spots or shadows
Keep your talent at least 6 feet away from the green screen to minimize green spill
Use soft, diffused lighting on both the screen and your talent
Camera Settings
Shoot in the highest resolution possible (1080p or 4K) for cleaner edges
Use a low ISO to reduce noise (noise makes chroma keying difficult)
Shoot in a flat or log color profile if available
vMix Chroma Key Settings
Select your camera input
Click the gear icon (Input Settings)
Go to the “Colour Key” tab
Click “Auto Colour Key” – vMix will analyze your image and set initial values
Click “Auto Chroma Key” for further refinement
Fine-tune the Hue, Saturation, and Luminance sliders until the key is clean
Pro Tip: Use the “Show Output” Button
When tweaking your chroma key settings, toggle the “Show Output” button in the Colour Key panel to see what vMix is actually removing. This makes it much easier to spot green spill or edge artifacts.
Frequently Asked Questions
Q1: Can I use vMix virtual sets with the free version of vMix?
A: Yes! Virtual sets are available in all editions of vMix, including the free 60-day trial. However, some premium virtual sets may require a paid vMix license.
Q2: Where can I download free vMix virtual sets?
A: vMix includes several free virtual sets right inside the software. Click Add Input → Virtual Set and browse the built-in options. You can also find free templates on the www.coostudio.com website.
Q3: Can I use my own images in a virtual set?
A: Absolutely! Use the Blank or Blank10 virtual set templates to assign your own PNG or JPG images as layers. You can create the images in Photoshop, GIMP, Canva, or any graphics software.
Q4: What’s the difference between Blank and Blank10?
A: Blank supports a basic set of layers, while Blank10 supports up to 10 layers – perfect for more complex sets with multiple screens, logos, and graphics.
Q5: Do virtual sets work with NDI sources?
A: Yes! You can assign any input type to a virtual set layer, including NDI sources, cameras, video files, and images.
Q6: How do I achieve a perfect chroma key?
A: Start with good lighting on your green screen, keep your talent at least 6 feet away, then use vMix’s Auto Colour Key and Auto Chroma Key buttons as a starting point. Fine-tune manually from there.
Q7: Will vMix updates delete my custom virtual sets?
A: Generally, no. Custom virtual sets usually survive vMix updates. However, it’s always smart to keep a backup of your VirtualSets folder.
What’s Next?
Now that you’ve got your vMix virtual set up and running, here are some related topics to explore:
How to Add Multiple Camera Angles to a vMix Virtual Set
Creating Animated Virtual Sets with vMix
The Ultimate Guide to vMix Chroma Key
Have questions or run into trouble? Drop a comment below and I’ll help you out!